 When: March – early June
Location: Common throughout the UK and Ireland
The arrival of spring brings with it one of the finest and most versatile ingredients our woodlands have to offer: wild garlic. Also known as wood garlic, ramps, or – in a particularly romantic Hardy-esque fashion – “ramsons”, wild garlic is native to most of Europe, having grown in our woodlands for centuries.
Being high-end restaurant-fashionable these days, the wild garlic found at farmers markets and Notting Hill grocers is horribly expensive to buy. Which is madness, because take a walk in the woods… and it’s totally free, growing en masse under our trees. See?
Despite its strong scent, wild garlic’s flavour is actually far more mellow than everyday garlic bulbs, adding a gentle, deep note to dishes. Chopped into salads, blitzed into pesto, folded into scrambled eggs and homemade mayonnaise, added to risotto, or simply cooked in place of spinach it’s no wonder this versatile ingredient has become so popular.
P.S. There is one more name for wild garlic… Bear garlic. Apparently the loveable kill-you-with-a-single-swipe-of-the-paw fellas are as partial to wild garlic as I am, munching away on the leaves after hibernation to kick-start their digestion. Though the UK isn’t exactly inundated with bears, I’d keep a marmalade sandwich in your pocket just in cases.
Where To Find Wild Garlic:
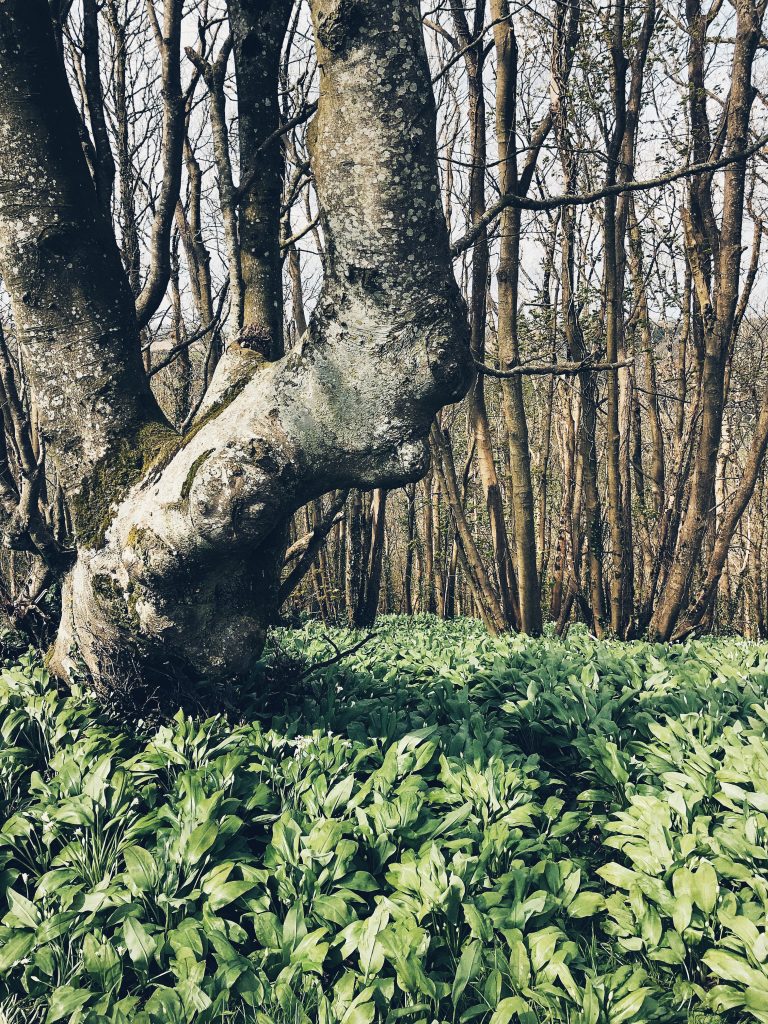
Come springtime, you’re likely to find wild garlic growing rampant beneath the dappled canopy of deciduous woodland. Tall oaks, swaying beech and elm, sprawling branches of hazel hornbeam and ash – these are the classic woods of National Trust trails, stately homes and Winnie The Pooh.
Enjoying cool damp soil and a gentle slope, wild garlic thrives in managed, not-too-dense woodland where the leaves let in sunshine between their branches. Wooded riverbanks and banks are another prime wild-garlic-finding spot. I even found it in a graveyard once, but that seemed rude.
How To Spot Wild Garlic:
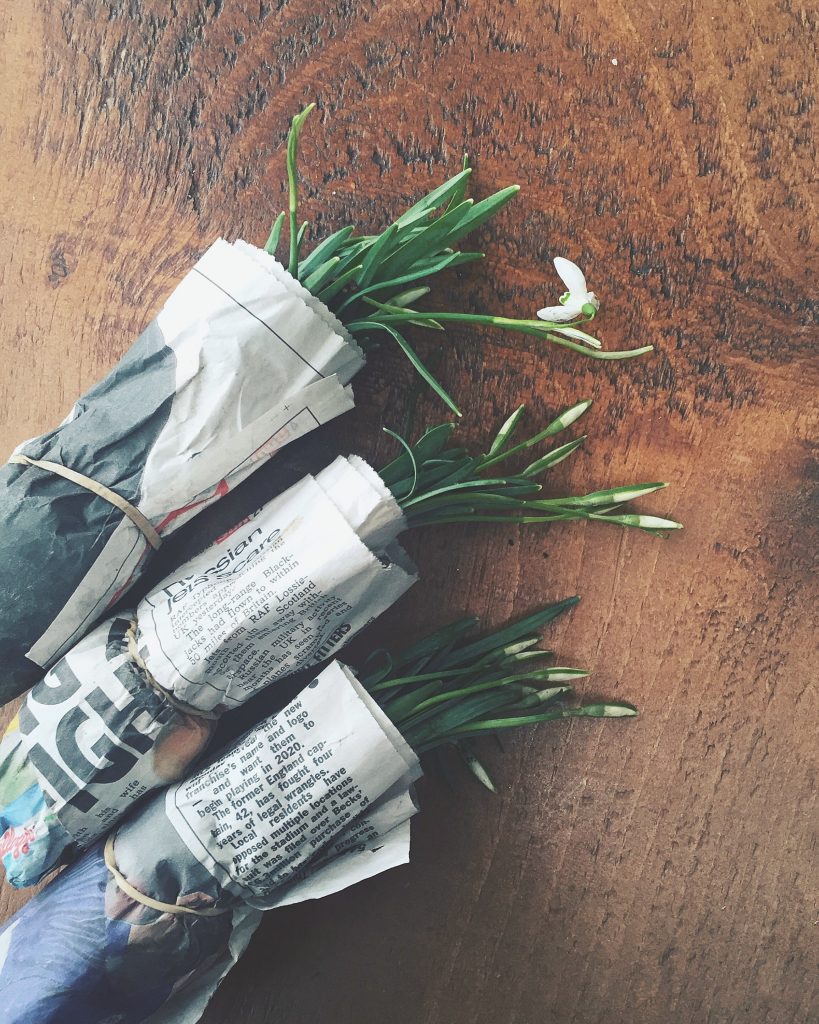
You will smell wild garlic before spotting it. Where one wild garlic plant grows, so hundreds follow – great carpets of the stuff rollicking across the woodland floor, up to 50cm tall.
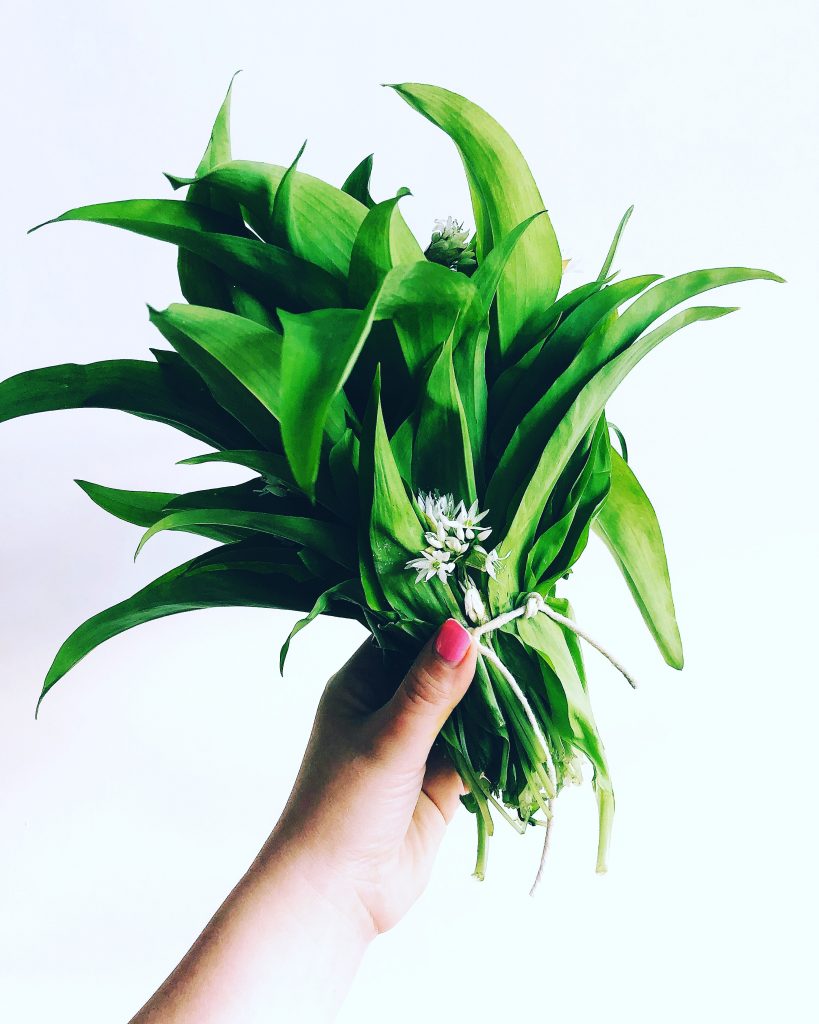
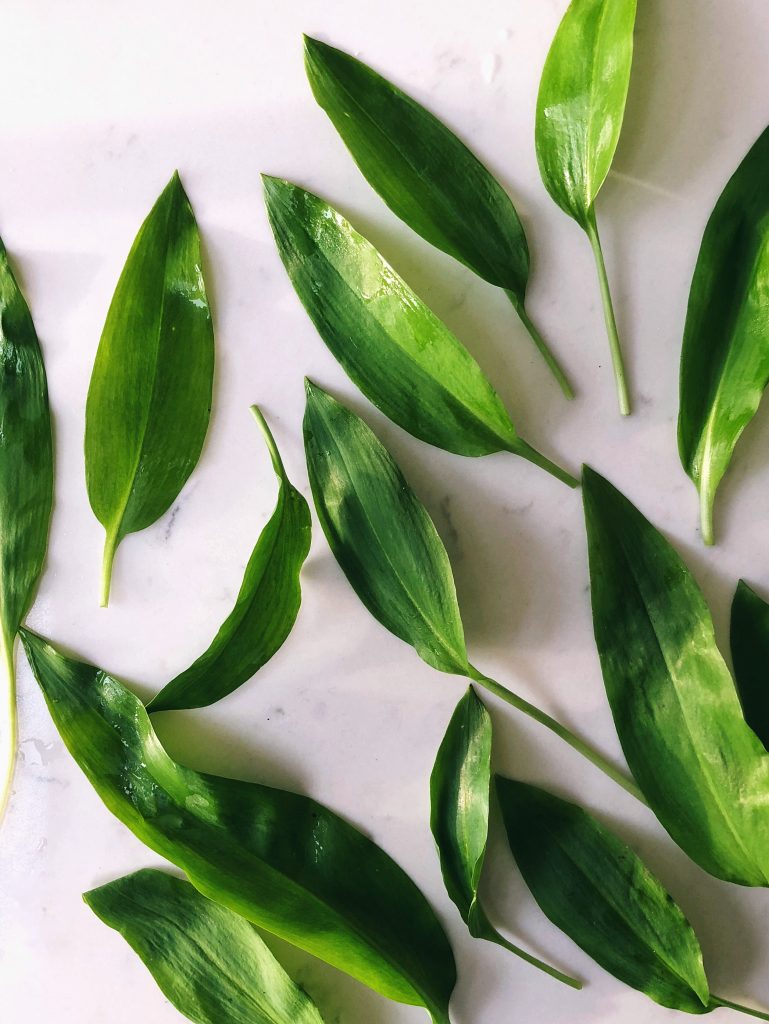
Smell aside, wild garlic is easy to spot. Long pointed leaves of vibrant green, slightly fatter in the middle before tapering to a point. Towards the end of the season, wild garlic sends up lovely scruffy allium-like pom pom flowers. Hurry… these white 6-petalled blooms signify the end of wild garlic’s growing season. On the upside, you can eat the flowers too.
Don’t Confuse With:
Lilly Of The Valley, which is poisonous. Growing in a similarly rampant carpet-like fashion, its leaves look very similar to wild garlic leaves. Luckily, there’s an easy and virtually foolproof way to tell the difference… Lilly Of The Valley’s leaves don’t smell of garlic. Crush one between your fingers and, if that distinctive garlicky-onion smell doesn’t immediately hit you in the nose, throw it away. When in flower it’s easy to tell, as they send up pretty little white bell-shaped flowers from a straight central stalk.
How To Pick:
Wild garlic leaves are at their best and strongest from March to May, before the plants flower. Harvest leaves, stems and flowers using scissors or a sharp knife so as not to damage the plant, leaving the bulb in the ground to grow again next year.
Will Keep For…
3-5 days if kept in the fridge. Wash before using.


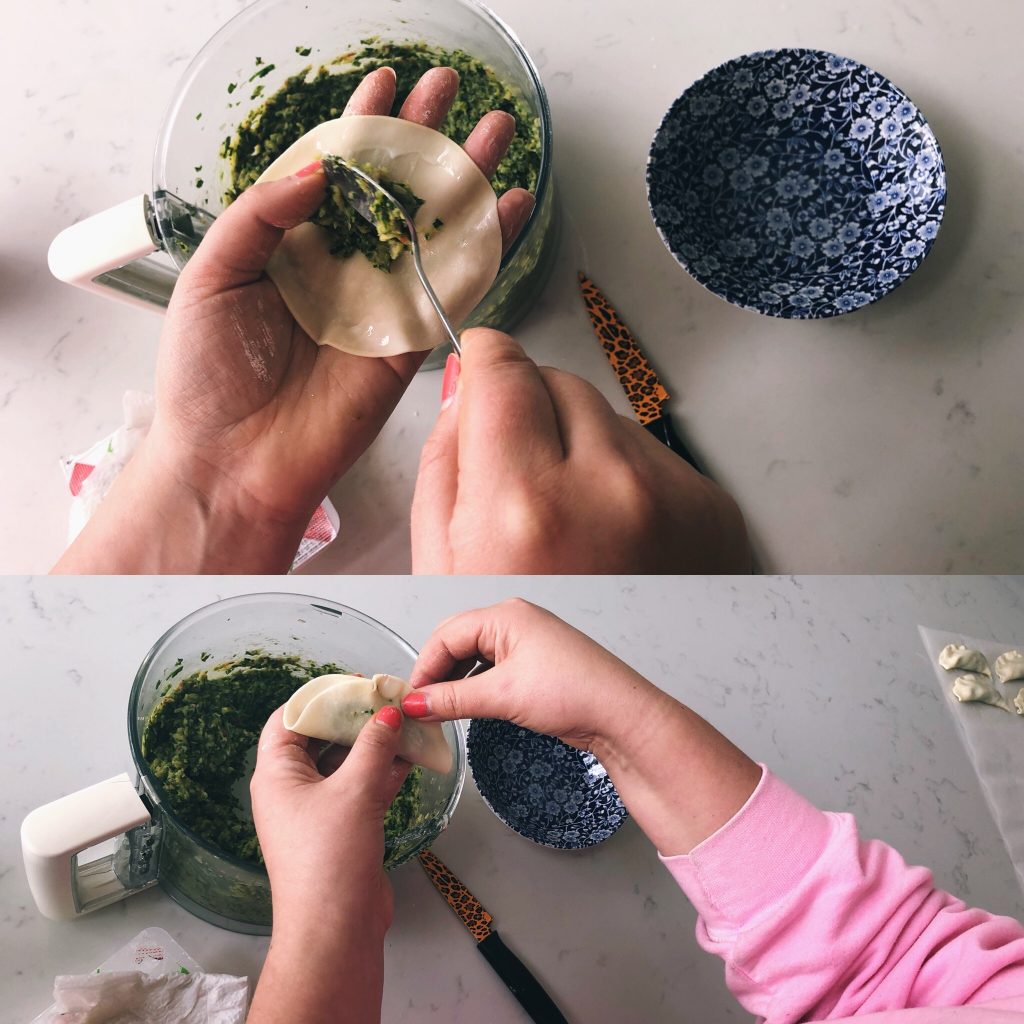
 Here’s what you’ll need:

 I have spent much of this morning filling the house with the smell of warm gingerbread and am singing carols to myself while piping icing on everything in sight. In truth, I may have inhaled too much ginger.