Pickled Magnolia Flowers

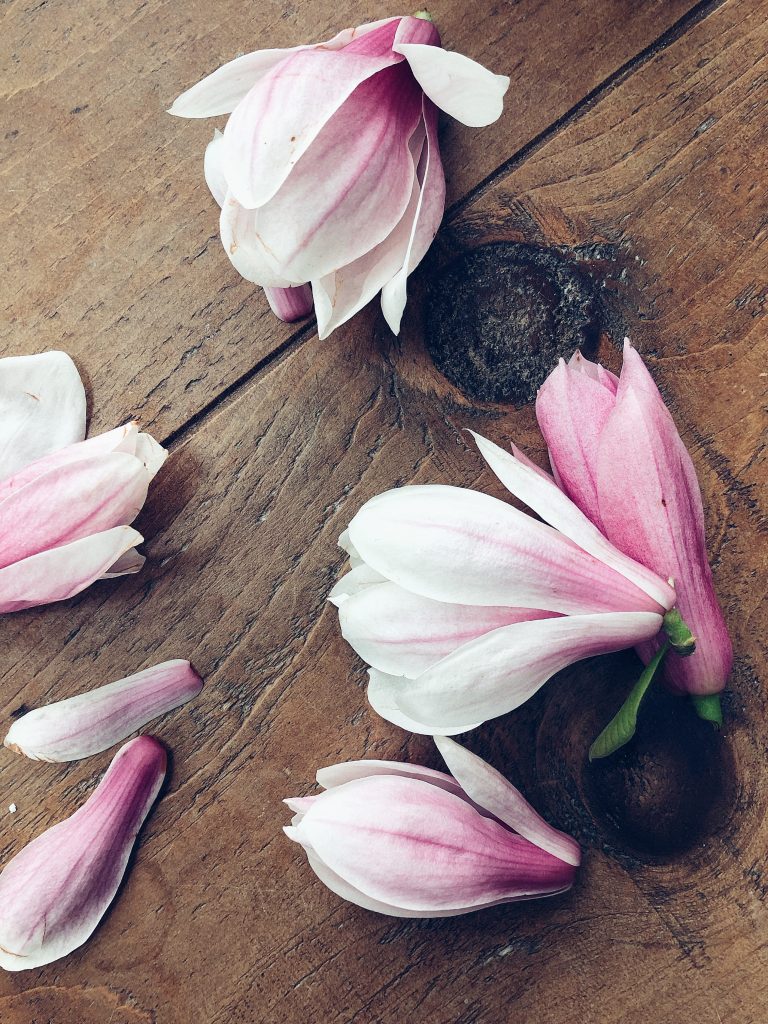
Hold onto your magnolia-luvin’ hats, people, for I come bearing news: magnolia flowers are edible. I know. All those years taking pictures for Instagram when we could have been eating them instead.

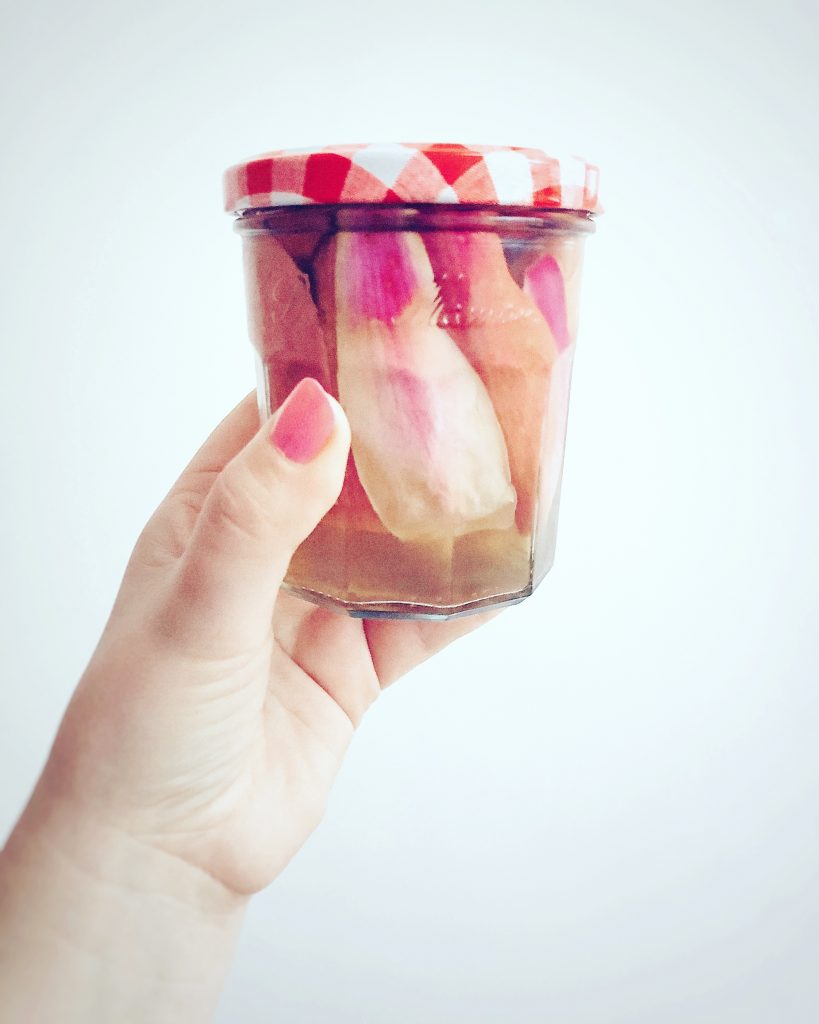
A little punchy in their fresh form, magnolia petals transform into a downright delicacy when pickled. With a unique floral/ ginger taste, the end result is akin to the Japanese pickled ginger that accompanies your sushi, delicate and dusty pink in hue.

Alas, I do not have a magnolia tree in my garden. I stole some. From a church yard. So I hope you like this recipe because I’ll be going to hell soon after.

Here’s what you’ll need:

  • magnolia flowers (I used 5 blooms for 1 jam-jar of pickles)
  • 350ml cider apple vinegar
  • 150ml water
  • 120g caster sugar
  • A little ice
  • 1 sterilised jam jar

Method:

Prepare a large bowl of iced water. Carefully separate the petals from your magnolia flowers, discarding any bruised/ damaged blades, and plunge them into the iced water. This will both wash them and keep them from spoiling while you make the pickling liquor.

For goodness’ sake, turn on the extractor fan. No one wants a face full of pickle steam. Apart from that, it’s very easy. Tip the vinegar, water and sugar into a saucepan and simmer, stirring until the sugar has dissolved. Set to one side to cool.

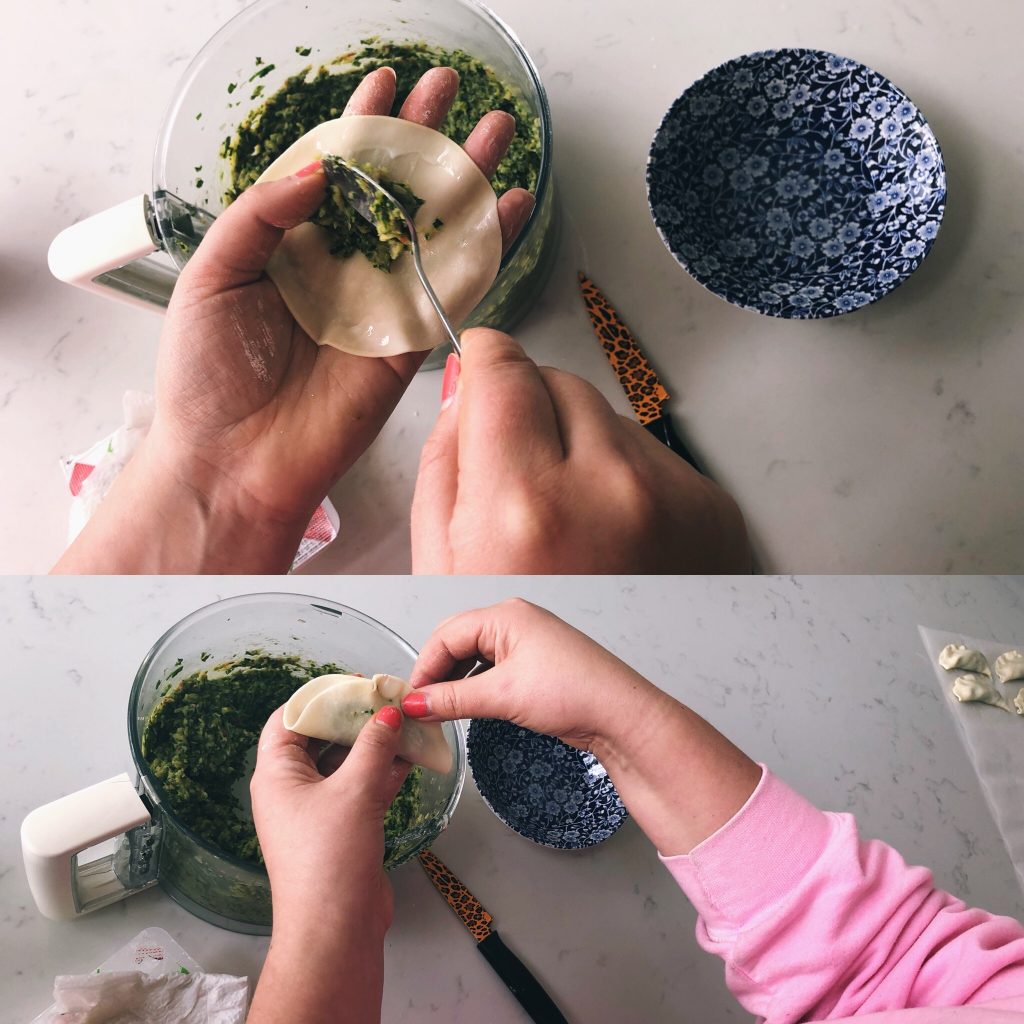
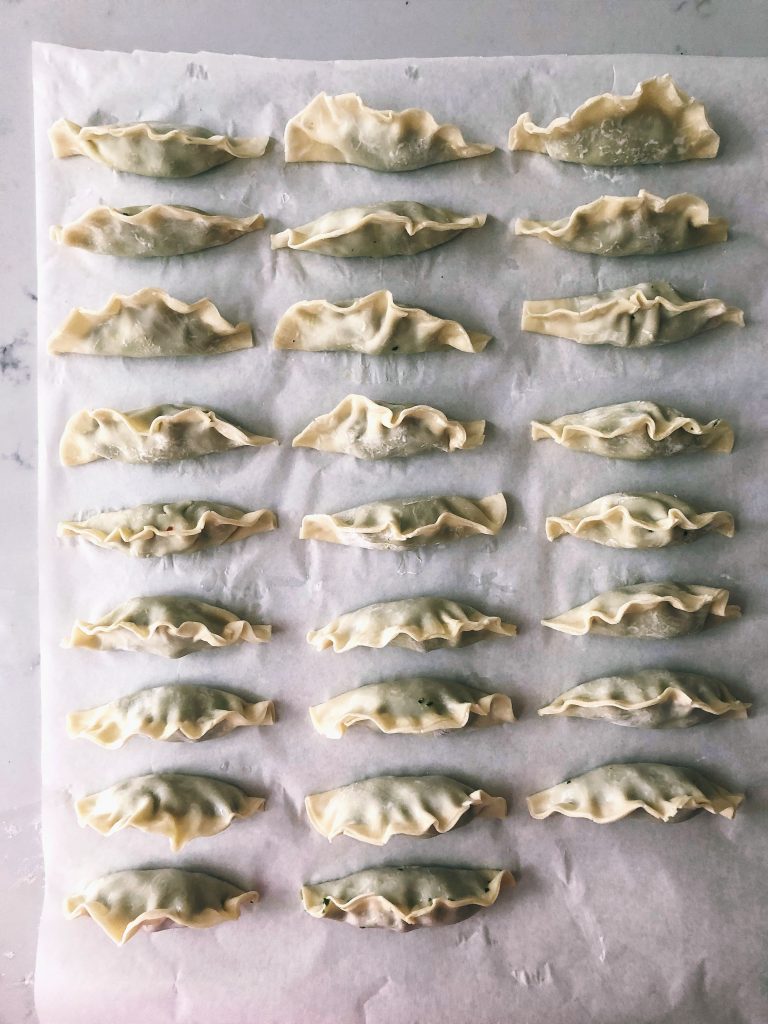
To prepare your jar, arrange the petals vertically – working from the outside in – until full. Pour over the pickling liquor, right to the top, then seal the lid tightly.

N.B. I’ll return with an update on ‘how long to leave them’ . This is definitely a leave-it-in-the-fridge recipe, and I’d take bets that 4 weeks pickling should do the job, but I’ll check them every 7 days and report back. 

Serve alongside sushi, sprinkled over salads, added to elaborate burger + bun combos, or resting atop a particularly posh open roast beef sandwich. Pickle heaven.


Wild Garlic and Prawn Gyoza

As a certified enthusiast of dumplings in all their guises, imagine my delighted dim sum surprise when I realised how easy they are to make at home. Freshly picked wild garlic adds both a mellow spring freshness, and a lovely dash of colour to the plate.

These are the Japanese gyoza members of the dumpling family. I’m deploying the “no need for a fiddly steamer” frying pan method here: so much simpler than anything else I’ve tried, with no need to buy new kitchen equipment and the added Brucey bonus of crispy golden dumpling bottoms to boot.

We’ll be using ready-made wonton/ dumpling wrappers, available from your nearest Chinese supermarket. (Well worth a slightly terrifying trip to the local industrial estate, I say.) You’ll need a blender to make the filling.

Makes 30 gyoza.

Here’s what you’ll need:

For the filling:

  • 450g raw king prawns, de-veined (if you can be bothered)
  • 4 big handfuls wild garlic, washed
  • 225g tin water chestnuts
  • 1 long red chilli, deseeded
  • 3cm piece ginger, peeled
  • 1 tsp sesame oil
  • 1 tbsp soy sauce
  • 30 dumpling wrappers

For the dipping sauce:

  • 2 tbsp soy sauce
  • 2 tbsp rice wine vinegar
  • 3 tbsp sweet chilli sauce
  • 1 tbsp runny honey
  • ½ red chilli, deseeded, sliced into fine rounds

Method

Tip your prawns, wild garlic, chilli, ginger, soy sauce and sesame oil into a blender and blitz to a paste. Just towards the end, add the water chestnuts and pulse for a few seconds – so that they’re mixed in, but still have texture.

Then it’s on to the gyoza assembly line. Unlike the slickly automated process of, say, car manufacture, gyoza production is a far more delicate, fiddly, and imperfect. It also takes AGES so rope in some hapless fools/ friends to help.

Keep the dumpling wrappers covered with a damp cloth/ kitchen towel until needed to keep them from drying out. Prepare a clean flat surface with baking paper, place a cold bowl of water within arm’s reach, then carefully peel away a wrapper and rest it in the palm of your hand. Dip your finger into the water, then run it around the edge of the wrapper in to moisten. Spoon 1 heaped teaspoon of mixture into the middle (don’t overfill or it will be a nightmare to seal).

To seal, dip your fingers into the water again, then gently squeeze together the edges of the dumpling wrappers into a sort of neat-ish fan/ tiny Oriental Cornish Pasty shape. Place them fat-bottom down Repeat 29 times. I find a glass of wine helps proceedings.

Place a large non-stick frying pan over a medium flame, adding a splash of sesame oil. When hot, carefully add a batch of dumplings, flat little bottoms down, making sure none of them touch. Cook until crisp and golden underneath.

Now for the clever bit. Using a jug, pour tap water straight into the frying pan, to a depth of roughly 1cm. Do this quickly and stand back as it’s likely to hiss like a pissed-off swan. Whack up the heat and cover with a lid to bring to the boil. Once boiling, reduce the heat back down to medium and, lid still on, let them steam for roughly 8 minutes. Quickly mix together your dipping sauce and set to one side.

When 8 minutes is up, remove the lid and cook off the last of the water so that your gyozas’ bottoms crisp up again if needed.

Serve right away on a nice plate, dipping profusely while dramatically gesticulating with your chopsticks.


Christmas Gingerbread Biscuits

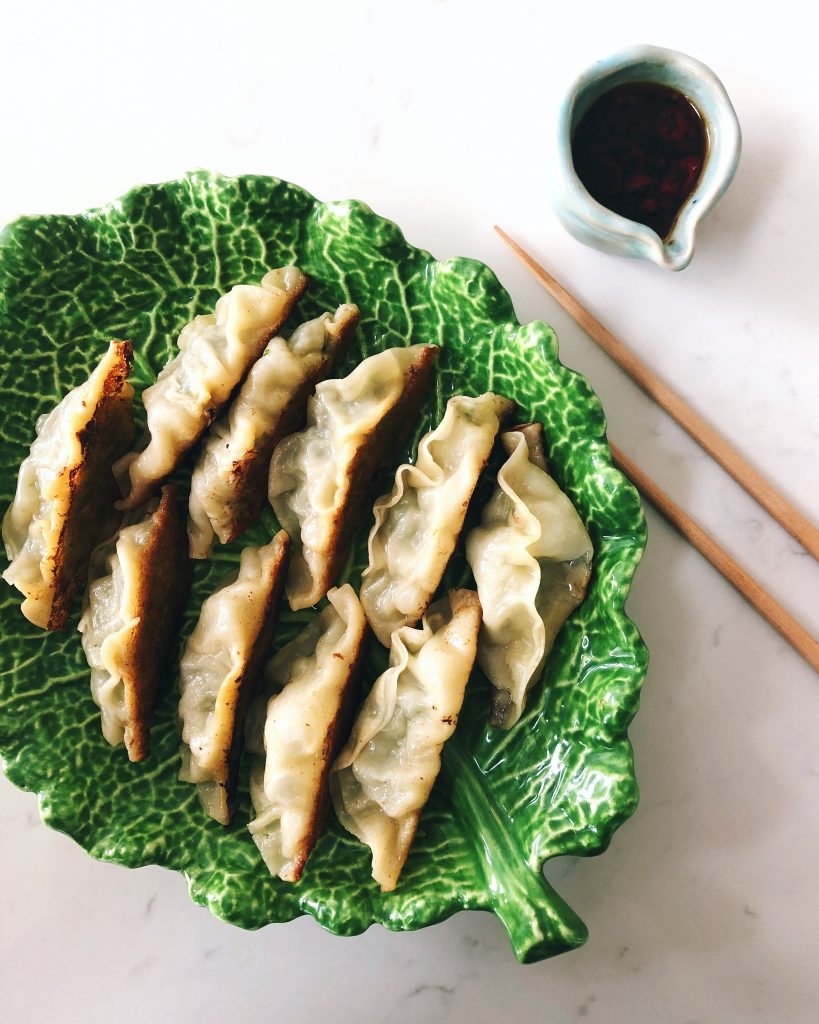
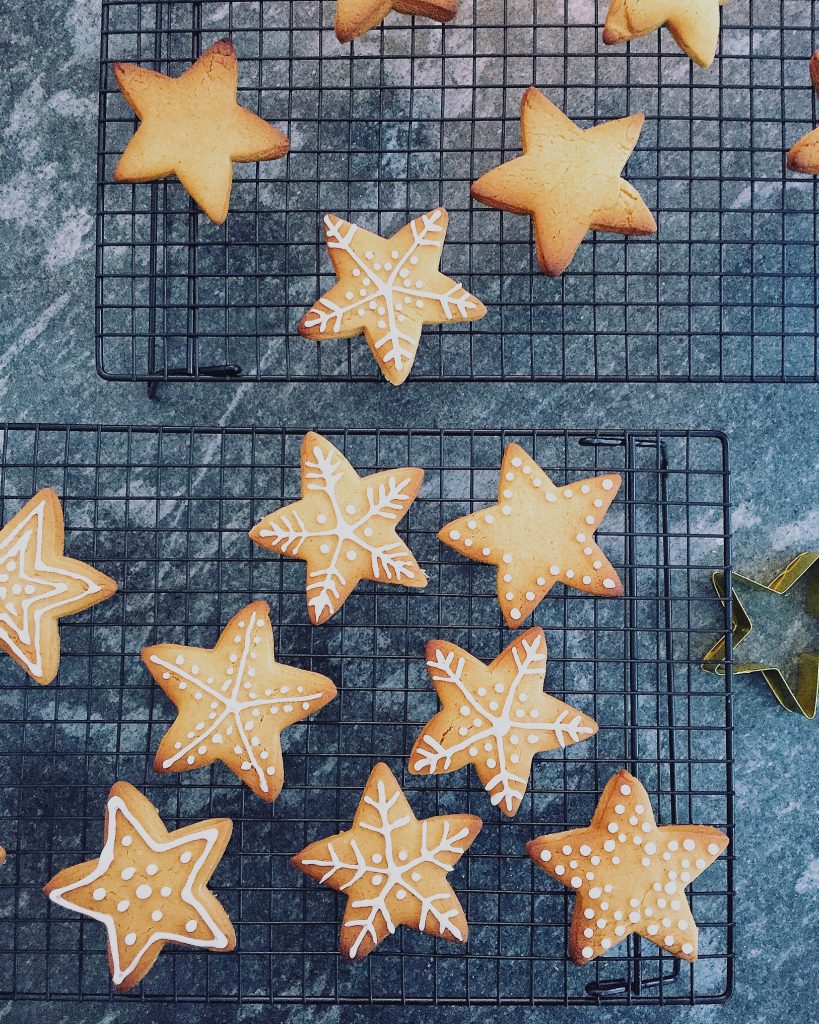
I have spent much of this morning filling the house with the smell of warm gingerbread and am singing carols to myself while piping icing on everything in sight. In truth, I may have inhaled too much ginger.

Though this recipe has little to do with the garden (if only we had the weather for proper ginger growing), these are Christmassy as hell and can be hung on a tree, so here they are, resplendent in their festive selves.

Makes about 15 – depending on the size and shape of your cookie cutter

Here’s what you’ll need:

  • 1 suitably festive cookie cutter. I use a 10cm gold star
  • 300g plain flour
  • 1 teaspoon bicarbonate of soda
  • 3 teaspoons ground ginger
  • 1/2 teaspoon ground cinnamon
  • 1/4 teaspoon freshly ground nutmeg
  • 120g unsalted butter
  • 100g soft light brown sugar
  • 3 tablespoons golden syrup

For decorating:

  • 225g icing sugar
  • 2-3 tablespoons boiling water
  • A piping bag with thin nozzle

Method

Pre-heat your oven to 180C (170C in a fan oven).

Tip all of your dry ingredients into a large bowl and put to one side.

Over a low flame gently heat the butter, golden syrup and sugar in a pan, stirring until the sugar is dissolved and the mixture takes on a silky appearance. Pour into the dry ingredients and stir until you have a smooth, stiff and biscuity dough. (I usually abandon the spoon and dive in with my hands towards the end).

Line a baking sheet with baking paper and lightly dust a clean surface with icing sugar. Cut the gingerbread dough in half, then roll out the first batch to a thickness of roughly ½ cm. Carefully cut out a round of biscuits with your cookie cutter, placing them one by one on the lined baking sheet. Push the remaining dough together and lightly roll it again for a second round of cutting (I wouldn’t try a third time or the dough could become a little overworked). Then pop them all in the oven for 8-10 minutes, watching to make sure they don’t catch at the edges.

Leave them to cool on the baking tray for a few minutes (now is the time to make holes in your biscuits if you’re going to hang them on the Christmas tree), then transfer them to a rack to cool completely before icing.

To make the glacé icing, sift icing sugar into a bowl then carefully add the hot water, little by very little, stirring with a wooden spoon. You’re after a thick cream consistency. Spoon it into your piping bag, and then unleash your inner festive Jackson Pollock.


Leek & Smoked Haddock Tarts With a little cheddar and chive

Leeks are at their very best during the coldest months of the year, and though mine won’t be ready until early spring (they’re tucked up in bed overwintering as I type) the shops are full of these mellow UK grown alliums right now – just in time for festive entertaining.

Sweet butter-softened leek and lightly smoked haddock are a match made in taste bud heaven. Perfect for a quietly impressive starter or light lunch with friends. Sustainable, non-dyed haddock from the fishmonger or counter will make all the difference.

N.B. I’ve added a few nasturtium flowers for decoration as mine are still rollicking all over the garden. This is purely for appearances’ sake.

Serves 4

Here’s what you’ll need:

  • 4x 10cm loose-bottom fluted tart tins
  • 320g good quality shop-bought shortcrust pastry
  • 3 leeks, sliced
  • 50g mature cheddar, grated
  • 150g sustainable smoked un-dyed haddock, skinned, cut into 2cm chunks
  • 100g crème fraiche
  • 100ml vegetable stock
  • 30g salted butter
  • A few sprigs of thyme, marjoram or oregano
  • A small handful of chives, chopped finely
  • A glug of white wine/ vodka
  • Plain flour for dusting
  • Cayenne pepper/ smoked paprika for sprinkling
  • Salt and pepper
  • Nasturtium flowers to decorate (if yours are still growing)

Method

Pre-heat your oven to 180C.

Lightly flour a clean surface and roll out the pastry to the thickness of roughly a £1 coin. Cut 4 circles of pastry, using the tins as a template, 2cm wider than their circumference. Carefully line each tin, pressing the pastry into each flute/ dimple, and then pop them into the fridge to chill for 15mins or so.

In a large heavy bottomed frying pan, melt the butter until golden and just beginning to brown. Add the leeks, white wine/ vodka, and turn up the heat for a few minutes. Add the stock and herbs, turn down the flame, then leave to cook down for 15mins or so, until the leeks are tender and the stock nearly all absorbed. Fish out the sprigs of herbs, then set to one side.

Take the pastry-lined tart tins out of the fridge, prick the bases with a fork, line with baking paper, fill with baking beads/ uncooked rice, then pop in the oven for 15mins. Take them out, remove the paper and beans, then cook for a further 10mins until the pastry is lightly golden.

Divide the leek mixture and haddock chunks evenly between the 4 tarts. In a small bowl, mix the crème fraiche, cheddar, chives and seasoning, then pour over the filled tarts until they’re full to the top and perilously close to spilling over. Pop the tarts onto a baking sheet and cook for 20mins until golden and starting to turn a darker brown in places.

To finish, sprinkle with a few more chopped chives, a dusting of cayenne pepper/ smoke paprika, and a nasturtium flower per tart.


New York Potato Latkes

From my book How To Grow: a guide for gardeners who can’t garden yet.

If you’re making potato latkes for breakfast, you’re going to have a bloody brilliant day. There is no bigger breakfast treat. This is also the messiest recipe I’ve ever had the pleasure to get all over myself and the kitchen of a morning. It relies on activating your potatoes’ starch, and good lord do they get sticky. Brace yourselves. I first discovered the joy of potato latkes sitting at a counter in a proper New York deli. They made them right there in front of me, on the hot plate. It was love. Or ‘lwuv’ if you want to pronounce it in true New York accent.

Serves 4

Here’s what you’ll need:

  • 1kg potatoes, peeled
  • 1 big onion
  • 25g fine matzoh meal or plain flour
  • 1 large free-range egg, beaten
  • A big sprinkle of sea salt
  • A few big cracks of black pepper
  • Olive or vegetable oil, for frying

To serve (optional):

  • Good-quality smoked salmon
  • Homemade horseradish sauce
  • Fresh chives

or

  • Soured Cream
  • Apple sauce

Method

First of all, it’s grating time. Find yourself a large mixing bowl, a sturdy grater and an almost inhuman reserve of energy. Grate all the potatoes and onion on the largest grater setting and mix together in the bowl (I use my hands).

Turn out the grated potato and onion onto a large clean tea towel. Roll it up and squeeze with all your strength to remove as much moisture as you can. The drier the mixture, the better the latkes will turn out.

Drop everything back into the bowl and add the matzoh meal, egg, salt and pepper. Mix well with your hands. If it’s getting stuck all over you, it’s going well.

In a deep frying pan, heat the oil until moderately hot. Place heaped tablespoons of the mixture into the pan a little distance apart, pushing down on each one with the back of a wooden spoon to flatten them out. Turn down the heat to medium and cook for about 5 minutes on each side, flipping when the edges turn from golden to dark brown. If they brown too quickly, knock the heat back or take the pan off the heat for a minute.

Remove the latkes from the pan and set on kitchen paper to drain. Continue cooking until you’ve used up all the mixture, then serve while they’re still piping hot.

Serve with a dollop each of soured cream and apple sauce, or – my personal favourite – a helping of really good-quality smoked salmon, homemade horseradish sauce and a sprinkle of fresh chives.


Salt Baked Beetroot

From my book, How To Grow: a guide for gardeners who can’t garden yet.

As my splendid friend, Ben ‘Yes Chef’ Christopherson said when I ran him through this recipe, ‘I love this, it tastes amazing, and there is the element of “why the hell am I doing this, this can’t possibly be right?”, which all the best recipes should have.’ Wise words, Ben. Wise words.

Serves 2 as a side dish, or 4 as a starter with smoked salmon.

Here’s what you’ll need:

  • 1 nice round beetroot
  • 1 box of Maldon Sea Salt (or any good quality salt)
  • 2–3 sprigs of thyme

Method

Preheat your oven to 160C/300F/gas 2.

Rummage around for the smallest ovenproof dish that will fit your beetroot as snuggly as possible. Pour a generous layer of salt into the dish, making a large dimple to rest your beetroot on, and pop him in. Add the thyme on top and around your beetroot, then keep pouring salt until your beetroot is entombed in a salt mountain. Then pop him in the oven for 45–60 minutes.

The beetroot is done when a sharp knife slips in easily. A bit like pasta, the perfect texture of beetroot is down to personal taste. I like it a little firm in the middle, so take it out after 50 minutes. It also depends on the size of your beetroot, so pop him back in for a bit longer if he isn’t quite done.

Once cooked, remove the dish from the oven and leave to cool for a few minutes. Then dive on in there and rescue your baked beetroot. (I let the salt cool, then keep it in a Kilner jar to use again.) Slice his skin and ends off by running a knife from top to bottom, gently peeling it away. Carefully slice into thin slices, then arrange in an impressive, arty fashion on a plate.

An excellent side dish, or delicious starter served with slithers of smoked salmon, watercress, good olive oil and freshly grated horseradish.